The Perfect Crochet Puff Flower
Spring is in the air! So let's crochet some spring vibes.
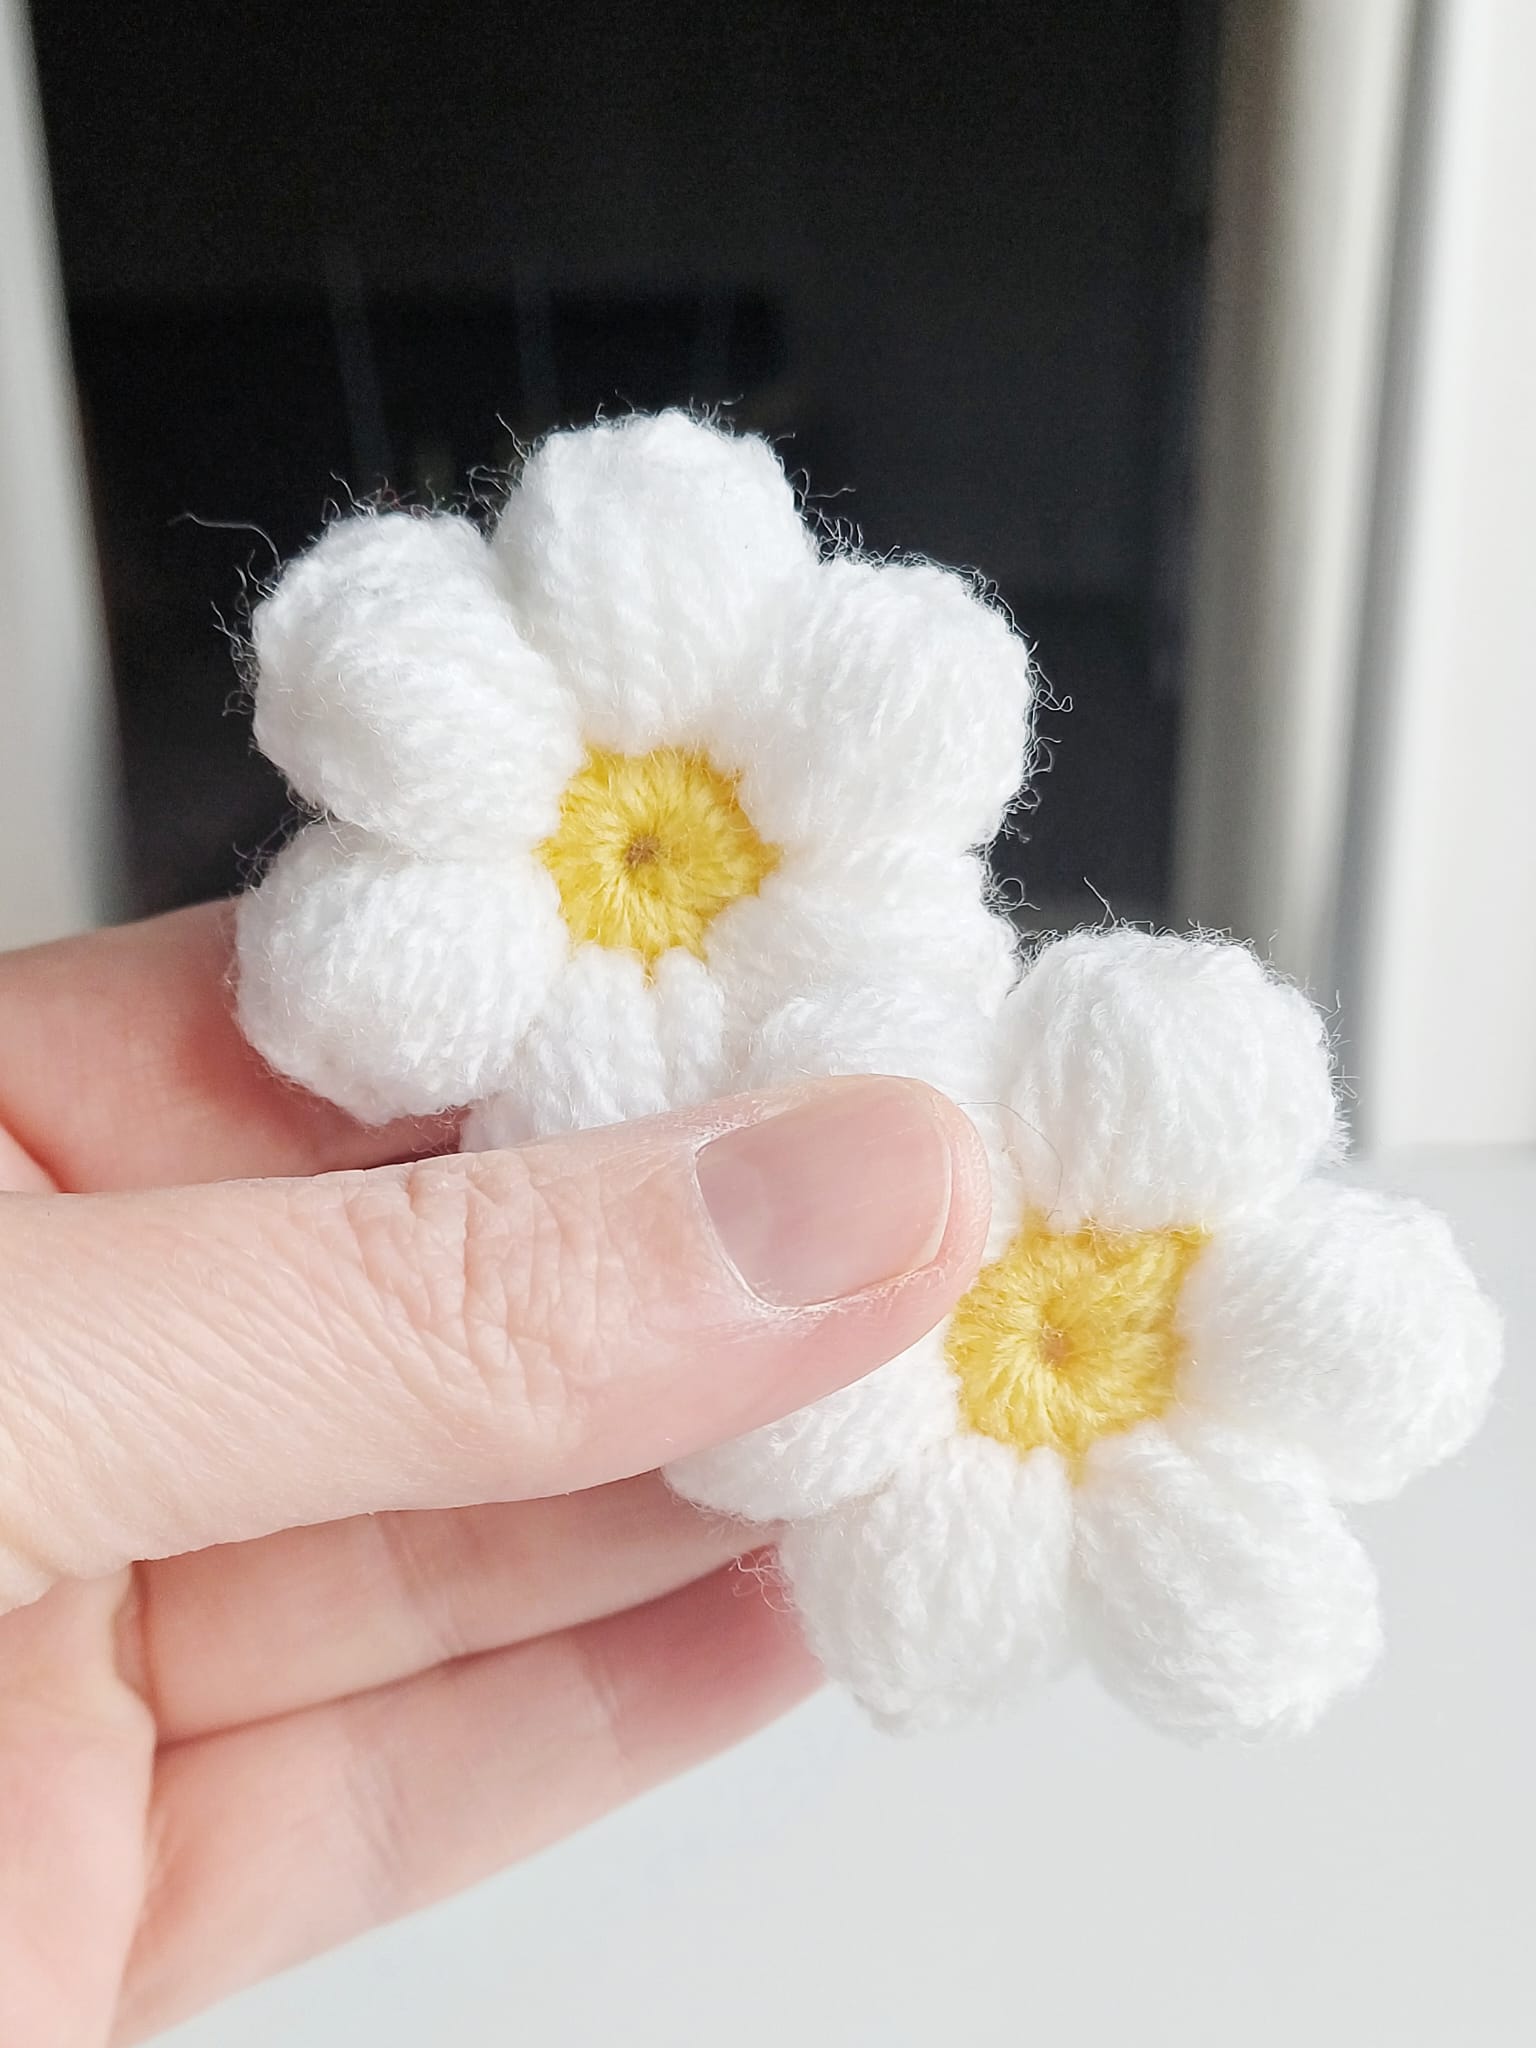
Spring is just around the corner, and I don't know about you, but it always makes me want to refresh my home! It is the perfect time to bring some floral cheer indoors. These little crochet puff flowers are exactly what you need for a quick seasonal update.
I love how versatile these are. You can easily string them together to create a modern spring garland, or add them to a simple cushion for that high-end, textured look. Because they are so small, they are the perfect project to pick up between tasks and finish in no time. Let’s relax together and dive into your yarn scraps!
Why Scraps are Your Best Friend
We all have that basket of yarn leftovers, right? I used Scheepjes Colour Crafter (DK weight) for mine because the stitch definition is just crisp and beautiful. But the best part? Any yarn will work. Whether you want a soft pastel look for spring or a bold modern statement, these flowers will look expensive no matter the fiber.
What You’ll Need:
- Yarn: Just some scraps! (I used Scheepjes Colour Crafter).
- Hook: A size that matches your yarn. I used an E/4 (3.5mm).
- Tools: A tapestry needle to weave in those few ends.
Starting with the Heart: The Magic Ring
The center of this flower is a classic yellow, giving it that fresh, sunny feel. We start with a magic ring to ensure the center is tight and professional-looking. No messy gaps here!
The Steps:
- Make a magic ring using your yellow yarn.
- Work 12 single crochet (sc) into the ring.
- Pull that ring tight.
If you’re new to the magic ring, don't worry. It’s a game-changer for a clean finish. You can see exactly how I do it in these quick videos:
Seamless Color Transitions
To get that high-end look, the color change needs to be invisible. I prefer changing to white for the petals to keep it modern and bright, perfect for a contemporary interior.
How to change color:
Work a slip stitch into the first stitch of the round, but pull through the new loop with your white yarn. This makes the transition sharp and clean.
Crafting the Petals: The Puff Stitch Technique
This is where the magic happens. We use a puff stitch across two stitches to create a thick, 3D effect. It’s what gives the flower its "expensive" feel.
The Petal Pattern:
- Chain 3 to start.
- In the first stitch: Yarn over, insert hook into the same stitch, pull up a loop to the height of your ch 3. Repeat this 2 more times.
- In the second stitch: Repeat the same process 3 times in the next stitch.
- To finish: Yarn over and pull through all loops on your hook. Chain 1 and pull tight to close the puff, then chain 2.
- Secure: Work a slip stitch into that same second stitch.
Repeat this until you have 6 beautiful petals.
The Finishing Touch
Once you’ve finished your six petals, weave in your ends. It’s that simple! I love how these look scattered on a dinner table or joined together as a spring garland. They are easy to pick up between chores and finished before you know it.
Want to Take This Look Further?
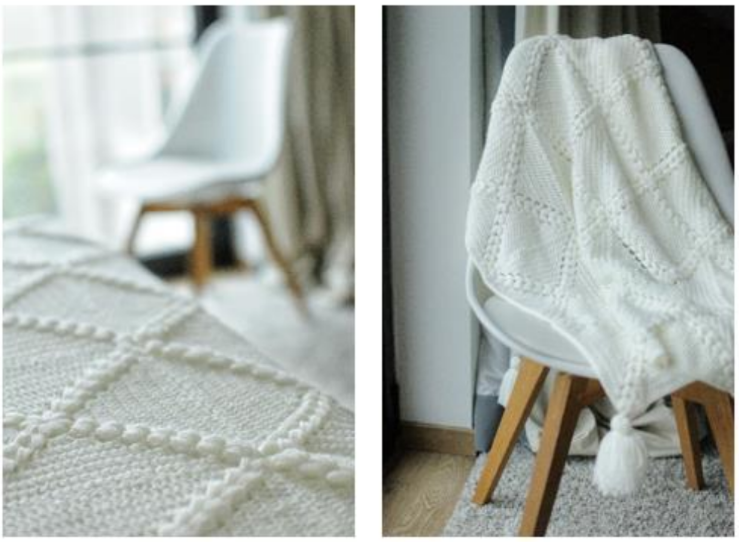
If you enjoyed this puff stitch technique, you will absolutely love my Granny Square Blanket. It uses the same high-end texture to create a full-sized piece that fits perfectly in any modern interior. It is the ultimate way to use this technique for a truly luxurious result.
Pattern Terms & Conditions
Personal Use Only
This pattern is provided for personal use. You are welcome to make as many of these ornaments as you like for yourself, your friends, and your family. Sharing the joy of handmade gifts is what crafting is all about!
Copyright Notice
The instructions, layout, and images associated with this pattern are the intellectual property of Miza Vanila. Please do not redistribute, sell, or copy the written pattern in part or in whole.
Selling Finished Items
You have my permission to sell finished ornaments made from this pattern on a small scale (e.g., at local craft fairs or in your small boutique). I only ask that you credit Miza Vanila as the designer. It’s a wonderful way to support the maker community!