The Star Stitch
Are you looking for a stitch that instantly adds a gorgeous feel to your projects?
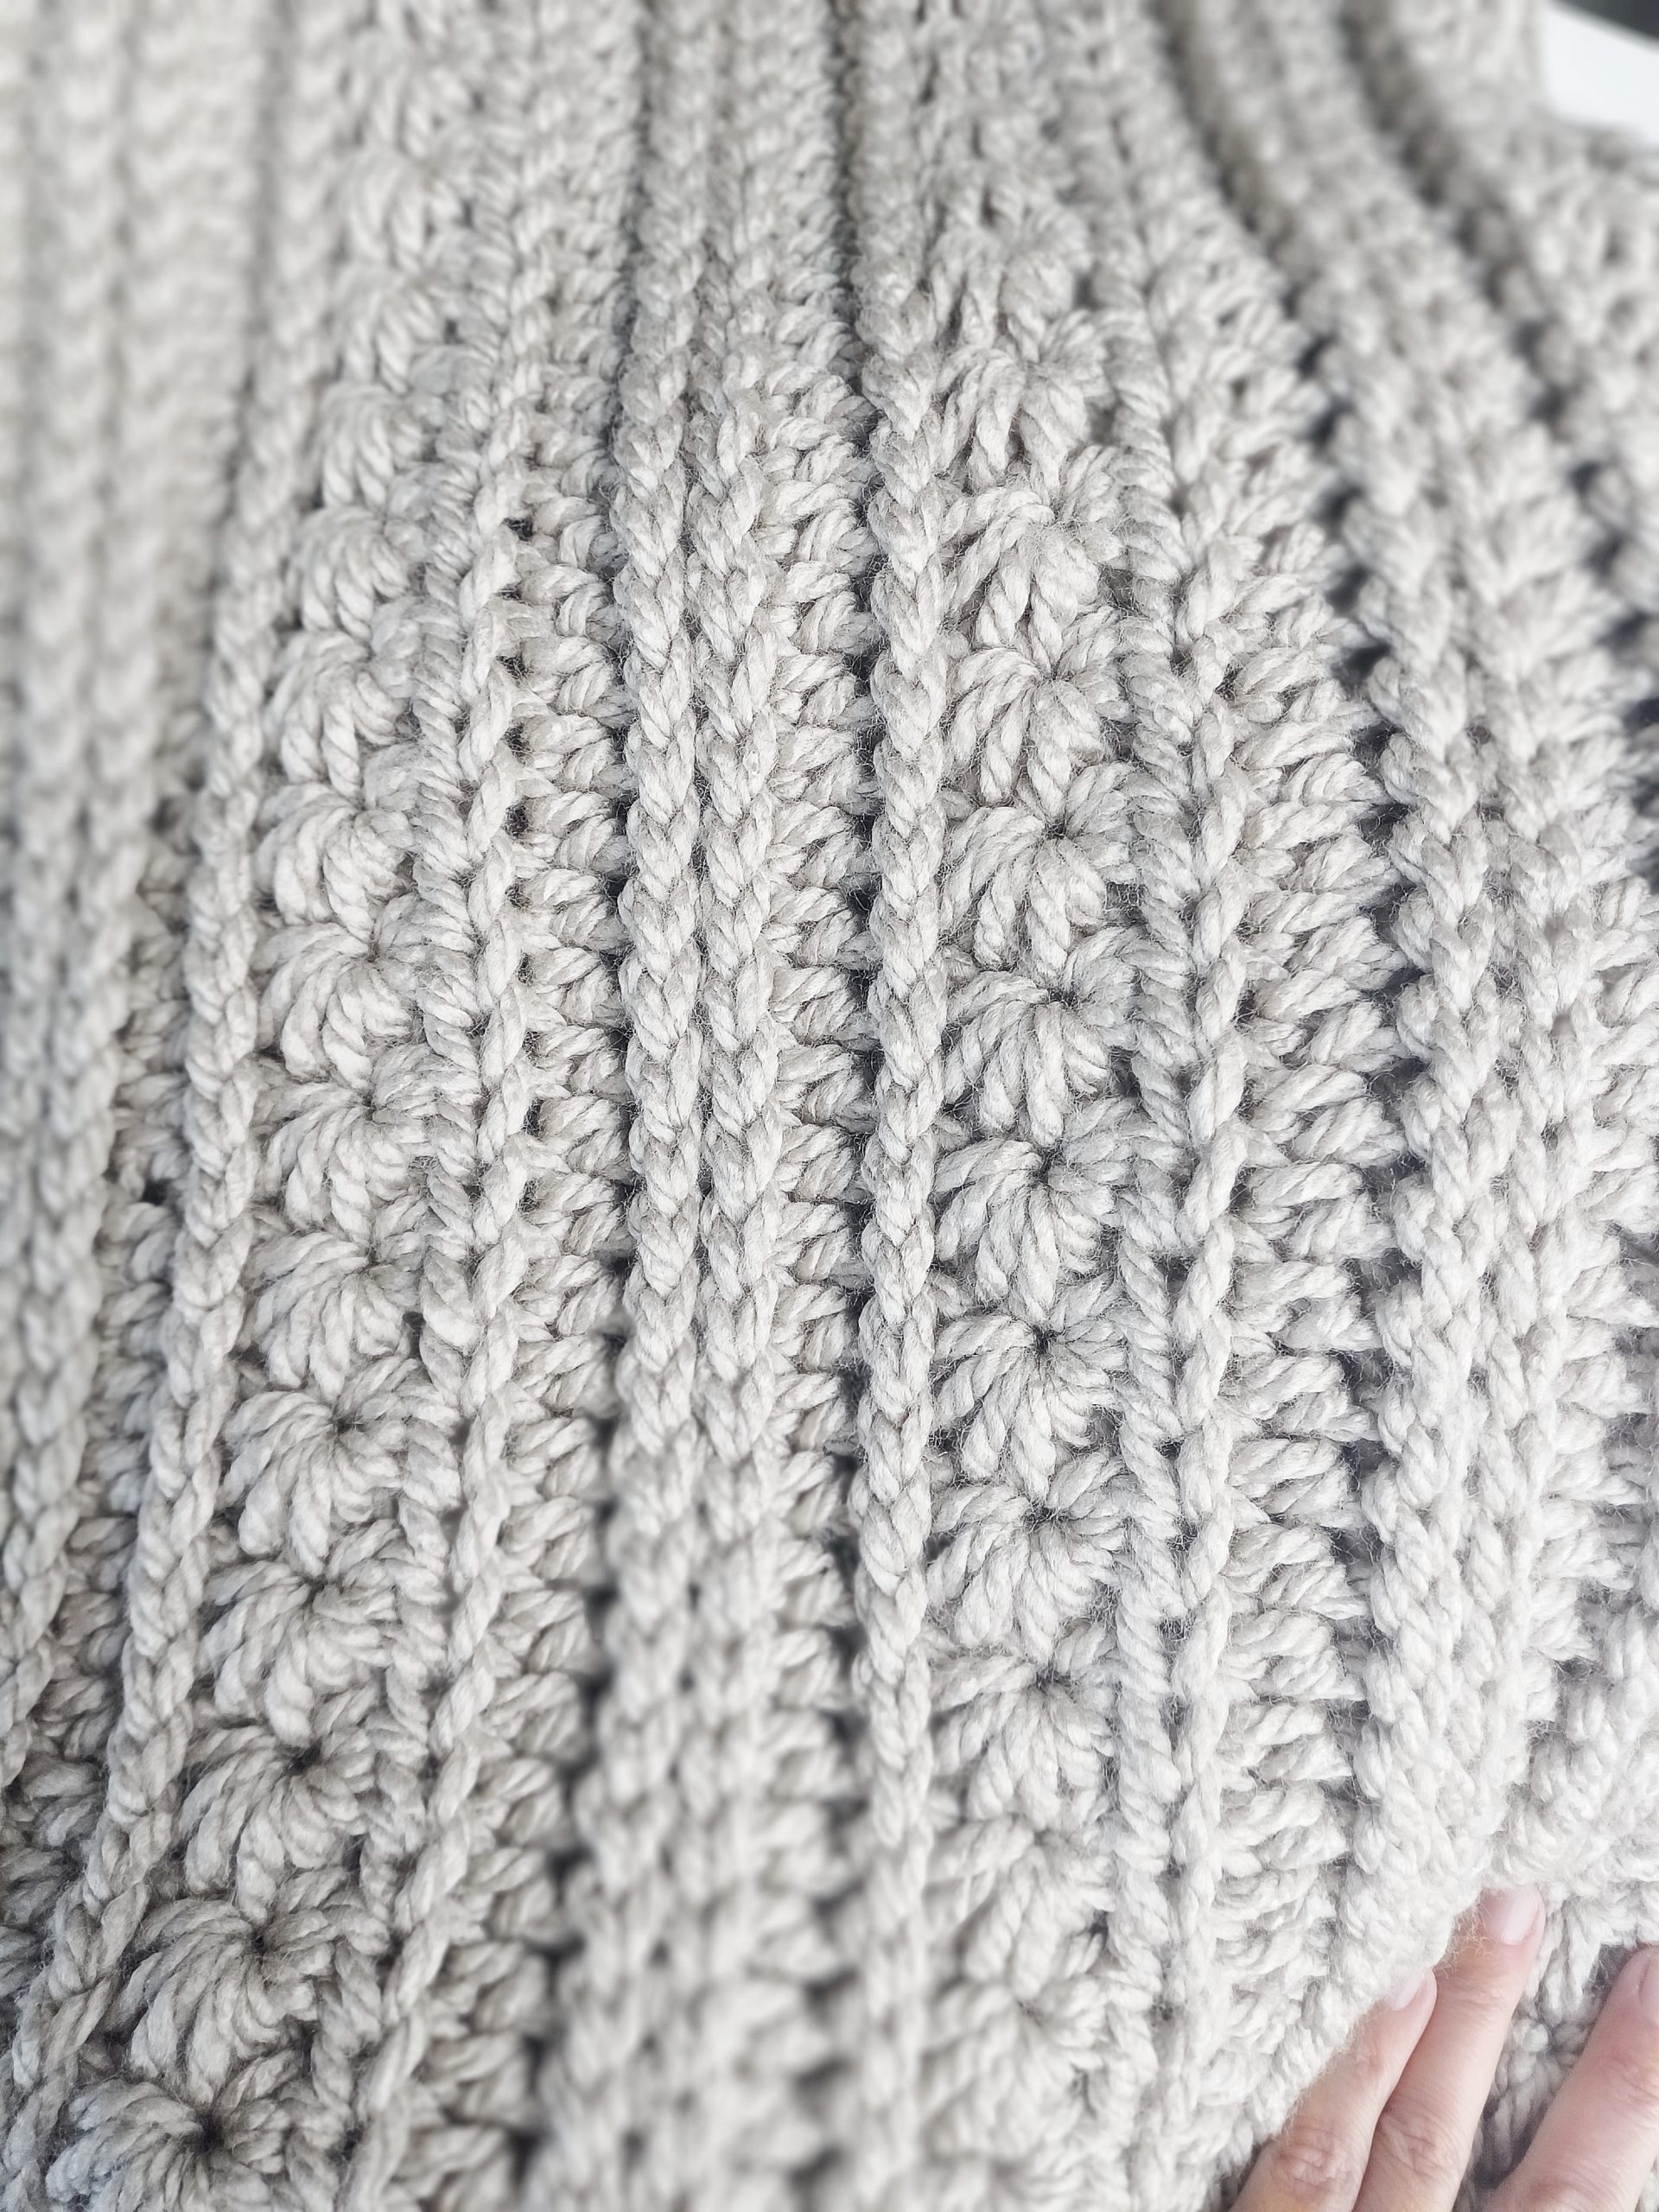
Then the star stitch (sometimes called the Marguerite stitch) is exactly what you need. This stitch creates a beautiful, thick texture that looks like a row of tiny stars or delicate flowers.
I love the look of it so much! I used it about 12 years ago when I made my first blanket for my son.
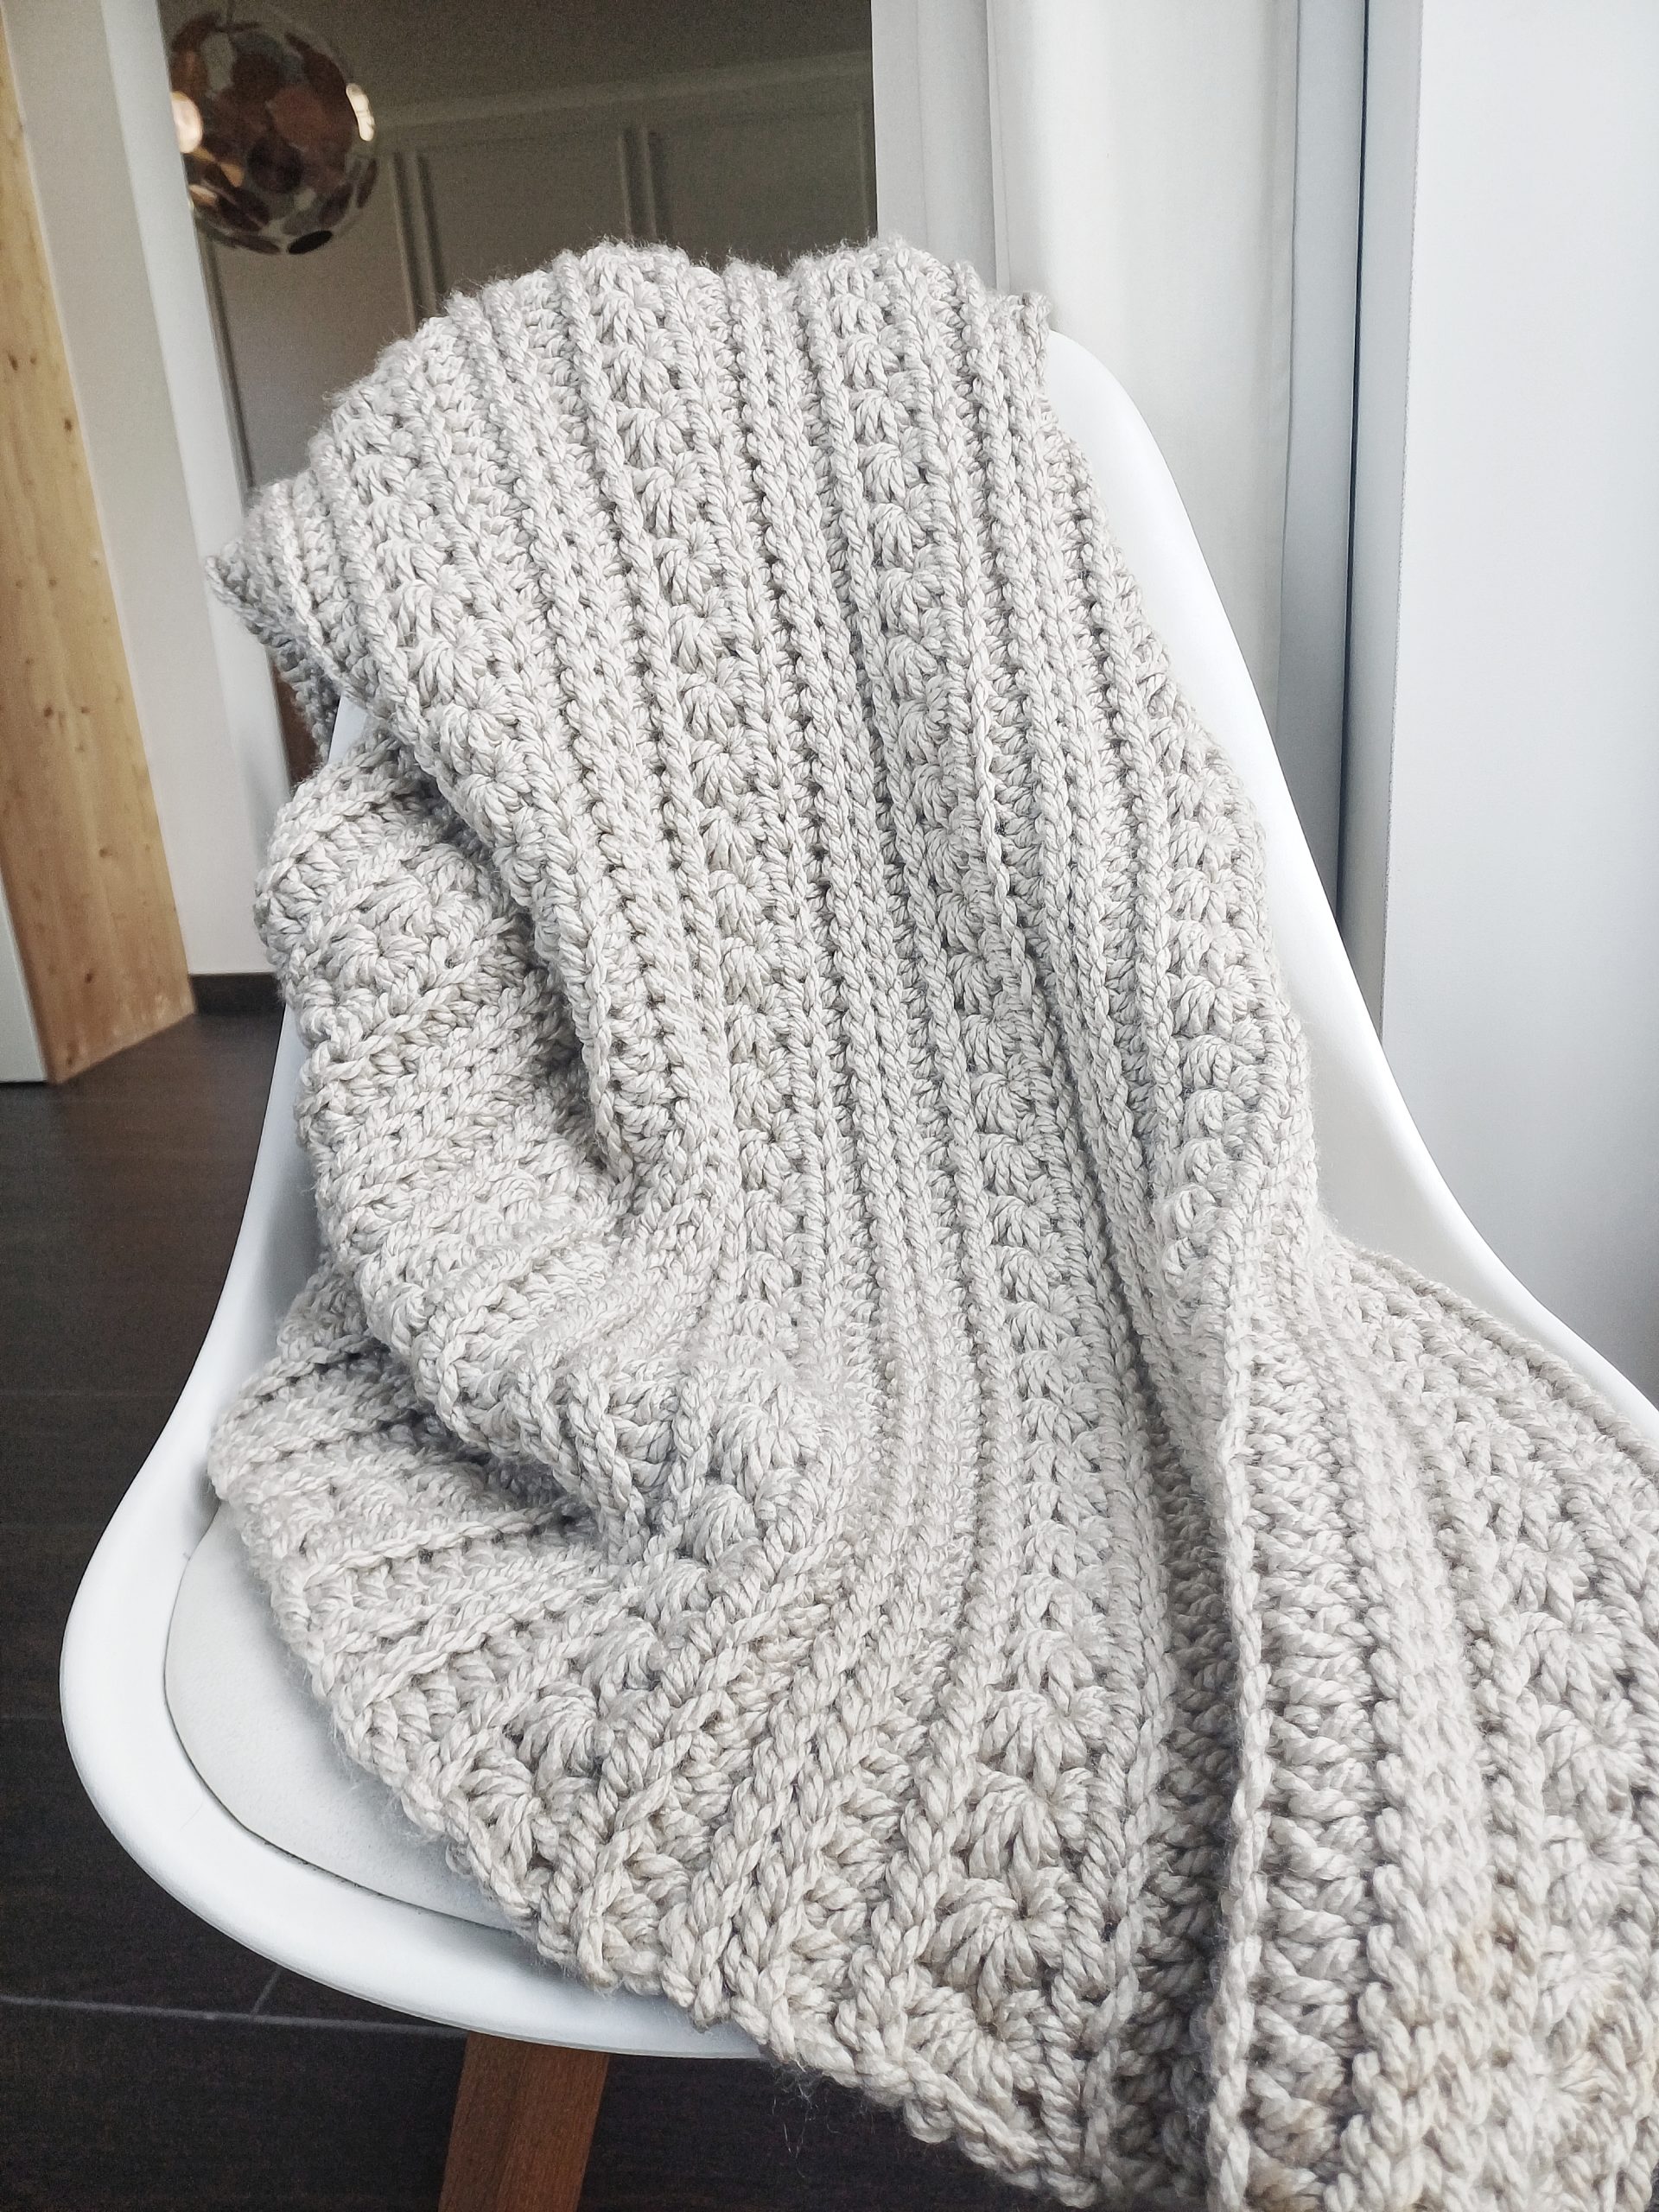
The star stitch is perfect for projects that need some weight and beautiful structure, like a modern cushion cover, a cozy winter scarf, or a sleek interior basket. Because the stitch is quite dense, there are hardly any gaps, giving your work a clean, professional finish that fits perfectly in a contemporary interior.
How the Star Stitch Works
The star stitch is made by repeating two simple rows:
- Row 1 creates the bottom half of the stars by gathering loops on your hook.
- Row 2 completes the stars with a row of half double crochets (hdc), which highlights the "eye" of each star.
Let’s take a look at how to create two rows of this gorgeous texture.
The Perfect Chunky Texture: Choosing Your Yarn
For this project, I used a gorgeous Super Bulky Yarn (Weight 6) made of 100% Acrylic in the calm, neutral color Sand (I used Hobbii Amigo Giga, color 03) and a US P/15 (12 mm) hook. Because it is so wonderfully thick, the star stitch looks incredibly chunky. Plus, using thick yarn means your project is finished in no time!
If you want to dive into your own stash or prefer a different brand, you can easily find a matching alternative. Just head over to www.yarnsub.com to look up a perfect substitute that fits your style and lets you get started right away.
How to crochet the Star Stitch
Row 1: Making the First Star
- Insert your hook into the 2nd chain from the hook, yarn over and pull up a loop (2 loops on hook).
- Insert into the 3rd chain, yarn over and pull up a loop (3 loops on hook).
- Insert into the 1st stitch of the previous row, yarn over and pull up a loop (4 loops on hook).
- Insert into the 2nd stitch, yarn over and pull up a loop (5 loops on hook).
- Insert into the 3rd stitch, yarn over and pull up a loop (6 loops on hook).
- Yarn over and pull through all 6 loops at once.
- Chain 1. This closes the star and creates the "eye" of your first star.
Row 1: Making the Next Stars Across the Row
- Insert hook into the eye of the star you just made, yarn over and pull up a loop (2 loops on hook).
- Insert hook between the last two spikes/legs of the previous star, yarn over and pull up a loop (3 loops on hook).
- Insert hook into the same stitch as the last loop of the previous star, yarn over and pull up a loop (4 loops on hook).
- Insert hook into the next stitch, yarn over and pull up a loop (5 loops on hook).
- Insert hook into the following stitch, yarn over and pull up a loop (6 loops on hook).
- Yarn over, pull through all 6 loops, and chain 1 to close the star.
- Repeat this process until exactly one stitch remains.
Row 1: Ending the Row
- Single crochet the stitch of the star stitch together with the very last stitch of the row.
- Chain 1 and turn your work.
Row 2: Completing the Star Stitch
- Work 1 half double crochet (hdc) in the very first stitch.
- Work 2 half double crochets (hdc) into the 'eye' of each star stitch all the way across the row.
- Work 1 half double crochet (hdc) in the very last stitch to keep your edges perfectly straight and neat.
Good Luck Star Throw
Ready to use this stitch in a throw pattern? Make the Good Luck Star Throw.
Sometimes you just need a little extra luck in your life, or maybe you want to wish someone else good luck. This Good Luck Star Throw is the perfect piece to curl up under. It keeps you or someone you love warm, both inside and out. It looks luxurious and fits perfectly in a modern interior.
The instructions of this pattern are clear and written step-by-step. Every stage is supported by my helpful videos, so you can relax and enjoy a smooth crochet experience from start to finish. It’s the perfect project to easily pick up between tasks!
Pattern Terms & Conditions
Personal Use Only
This pattern is provided for personal use. You are welcome to make as many of these ornaments as you like for yourself, your friends, and your family. Sharing the joy of handmade gifts is what crafting is all about!
Copyright Notice
The instructions, layout, and images associated with this pattern are the intellectual property of Miza Vanila. Please do not redistribute, sell, or copy the written pattern in part or in whole.
Selling Finished Items
You have my permission to sell finished ornaments made from this pattern on a small scale (e.g., at local craft fairs or in your small boutique). I only ask that you credit Miza Vanila as the designer. It’s a wonderful way to support the maker community!